Showing posts with label DIY. Show all posts

Friday, July 31, 2015

More sprout fun + custom chocolate bar wrappers

Custom Chocolate Bar Wraps
It was really hard to choose just two projects to share that I made with my Sprout since I had about a dozen I was working on and equally excited about (I can always share those later right?) but custom chocolate bar wrappers won out! It's not that I think straight from the store chocolate bars are awful (though some are) but I have a love affair with custom designing things like this for special occasions.

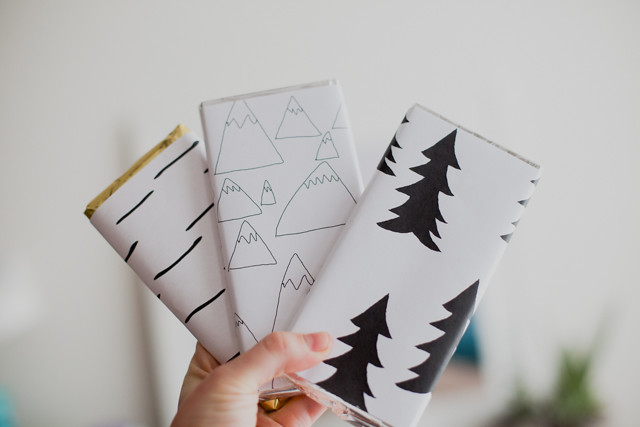
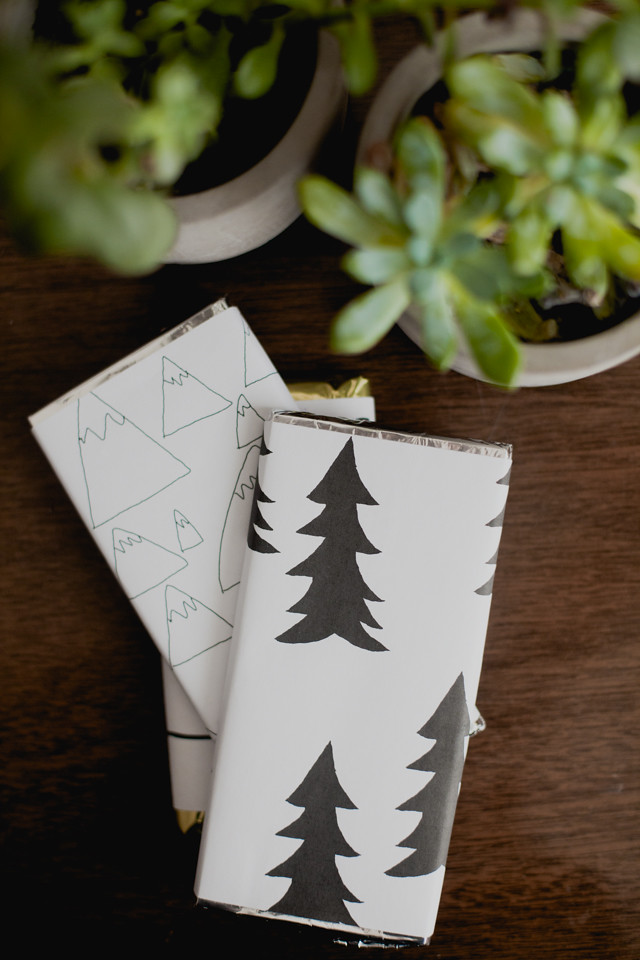
This time I stuck with very minimalistic designs and it only took like 10 minutes to draw all three on the sprout mat and print them off. I've been in love with the simple tree illustration from Fine little day so I free handed one, filled it in with black and copy+pasted it to fill the page up. So easy!

Here's the link to each print if you'd like to use them for anything: Mountains, Trees, Lines
Custom Chocolate Bar Wraps

Another fun way I used it last week was to create a page of everything that Beck loves at 20 months.
I used the 3D scanning projector to scan in his favorite toys (dinosaurs), his swim shorts, his favorite book and his blanket to create a little memory collage. I didn't take any video of the scanning action but it's super fascinating to watch and they have some videos online if you want to see!

DIY deodorant (that actually works!)
And last but not least, I took a short time lapse of me going through photos and writing on them with the mat. It is really easy to use (unlike other writing tablets I've tried)!
Sprout time lapse

Thanks HP for letting me try out the Sprout. I'm kind of in love with and learning more and more things I want to use it for everyday!

Wednesday, July 29, 2015

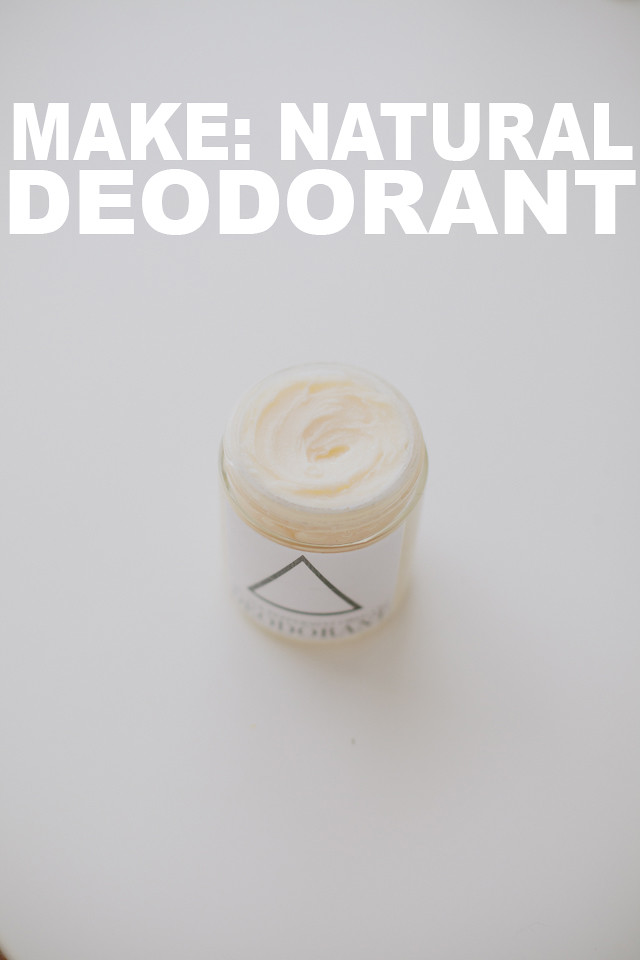
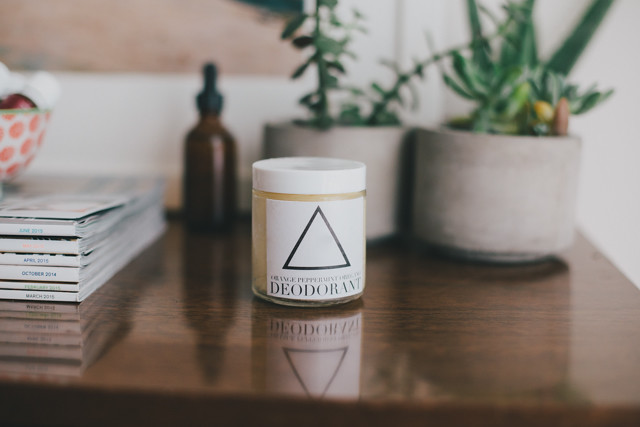
Make: Natural Deodorant (that actually works!)

DIY Natural Deodorant using essential oils
DIY deodorant (that actually works!)

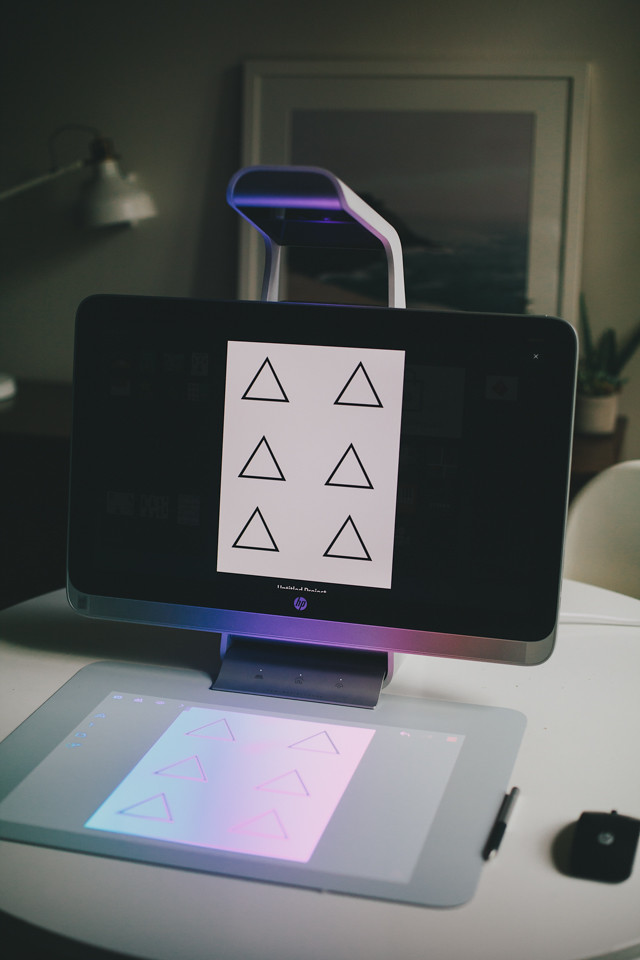
I'm always making my own household things around here (especially with my newish found love in essential oils!) but they are usually unlabeled or worse... labeled with masking tape. The horror! Well, I got this fancy new computer called Sprout from HP a few months ago and I've been playing with it and learning how to use it and it wasn't until last week that I was like Duh... I can make cool labels for all my homemade concoctions now!

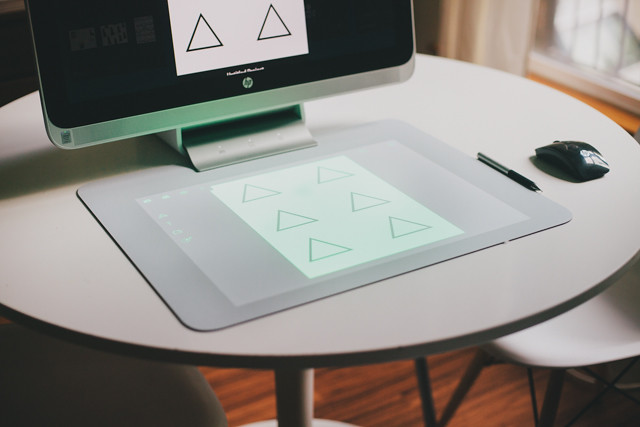
The sprout is incredible, with technology I can't really even fathom and it's SO fun to use (I have another project I'll be sharing in a couple days). It has a scanner/projector attached to the top that can scan 3D objects, and touch-sensitive mat that you can use to edit and create projects. The actual computer screen itself is a touch screen too. It's all just so amazing (and anyone that comes over needs to try it out). I'm not super great with using photoshop for design things since I'm a more hands on type of person and this is really nice for that—you can pull photos off the internet, drag them onto the mat, edit them, crop them, write on it, turn it sideways... all with your fingers. I made a little time lapse video for my next post... be excited!

DIY deodorant (that actually works!)

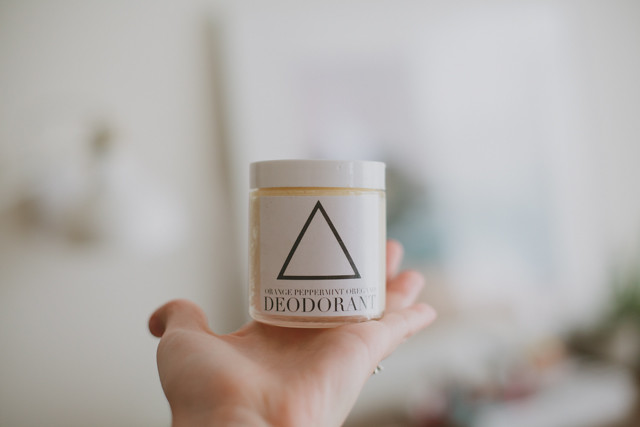
I stuck with something super simple for the label since I don't have the best drawing skills and added text and I was done within a minute or two and sending it to the printer. Hooray!

DIY deodorant (that actually works!)
Now, lets talk deodorant! I've made deodorant in the past and it worked fine but for some reason we ended up going back to something from the store. When we ran out a couple weeks ago Josh picked one up that was natural and wasn't test on animals... and it sucked (ahem..Toms).

I knew I had a bunch of essential oils that are antibacterial which would be great in a homemade deodorant since it's the bacteria that makes you stink. I read about this combo of essential oils in deodorant elsewhere and thought I'd give it a go. And the verdict is: it works so incredibly well and smells great too. We've both been using it everyday and it's been SO hot here and no odor from us whatsoever.

If you're a natural deodorant skeptic, this one will win you over.

Orange Peppermint Oregano Deodorant

1/4 cup baking soda
1/4 cup arrowroot powder (I highly recommend this over cornstarch)
5 Tablepsoons coconut oil, melted
10 drops oregano essential oil
10 drops orange essential oil
10 drops peppermint essential oil

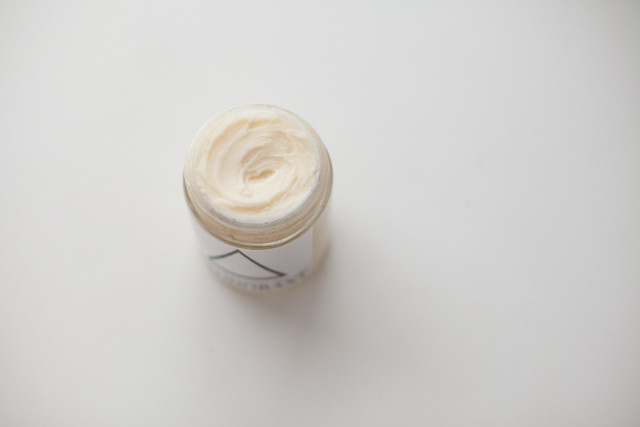
In a bowl mix together the dry ingredients. Add the essential oils to the melted coconut oil and stir it into the dry ingredients until it is very well mixed with no clumps. Put it in the refrigerator to solidify it. Use a pea-sized amount in each arm. Tip: Hold it in your arm for a few seconds before spreading around to melt it a bit.

If you make it and use it, let me know!


Wednesday, June 17, 2015

Make: Homemade Dishwasher Detergent

Dishwasher Detergent

Yet another homemade product, are you sick of me yet? Well, I initially made this out of necessity. We had run out of dishwasher detergent and the dishes in the sink we're piling up and I was desperate. And a friend and I were recently talking about making it ourselves anyway so I looked up a couple recipes and I already had everything so I gave it a go.

Making your own cleaners is hit or miss, they usually get the job done "enough" but for me I need them to work extremely well, not just "its good for a natural product". A semi-clean house is not clean in my nook. So I was skeptical to say the least! But we've been using it in every load of dishes for a week and they are crystal clear and clean. I'm SO impressed. Honestly, this works just as well as the tabs we were using up from costco before we ran out. I know the added essential oils have a lot to do with it, they are super potent and help break down grease. And thieves has anti-bacterial properties so its a super cleaning machine!

I don't feel the NEED to make every single thing that's in our house but if it saves us money, I'm all about it. And I like knowing exactly what's going on our dishes to clean them. Everything in non-toxic in this concoction.

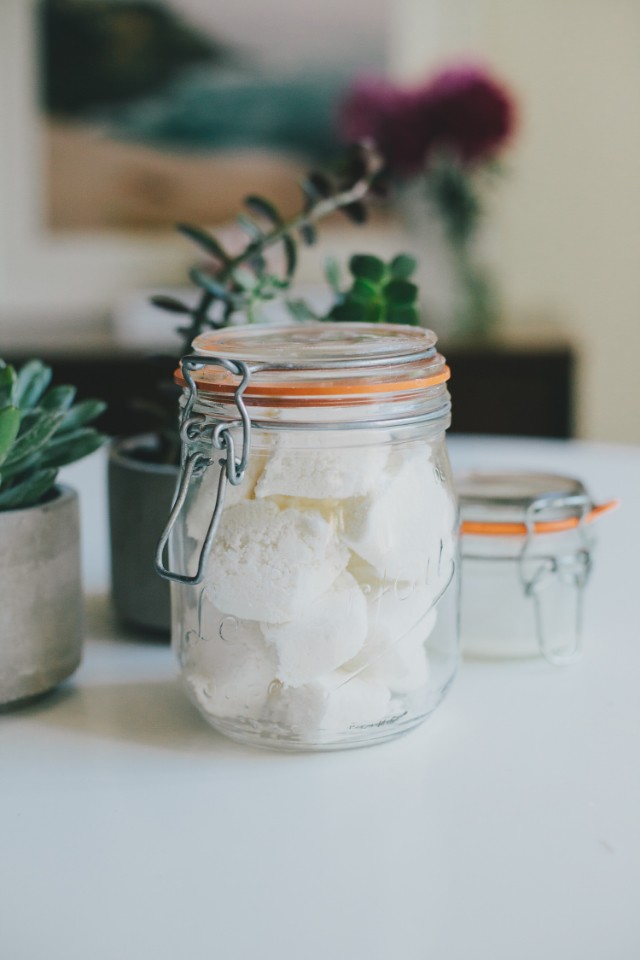
Note: I didn't plan on putting them in ice cube trays to make tabs. I added a tiny bit of water to mix in the oils really good but left it as a powder and it hardened rock solid in the jar after an hour. So I dug it out with a fork and put it in molds this time to save it. Next time I'll just blend up the dry ingredients and mix in the oils by hand and just keep it as a powder. One less step!

Homemade Dishwasher Detergent

Ingredients:

2 cups washing soda
1 cup baking soda
1 cup citric acid
1/2 cup kosher salt
1 teaspoon castile soap
10 drops of thieves essential oil
10 drops of lemon essential oil
*1/2 cup plus 2 tablespoons white distilled vinegar (I skipped this, see note above)

Directions:

Mix all the dry ingredients together in a large bowl
mix in castile soap and the thieves and lemon essential oil
Stir until the soap and essential oils are mixed throughout, you may need to do this by hand
Put the mixture in a jar and use a heaping tablespoon in each load. I usually add vinegar to the rinse aid compartment too.

*If you want to make hard tabs to use:
Skip the 1tsp of castile soap. Gradually add vinegar a little bit at a time and mix well (some fizzing will occur and the mixture will start to clump) You may not need the entire amount of vinegar, so add it a little at a time.
pack well into two ice cube trays (take your time doing this and make sure they are well compacted)
set ice cube trays out to dry for at least 24 hours in a sunny spot
take tabs out of trays and store in a tight-lidded container

Tuesday, May 5, 2015

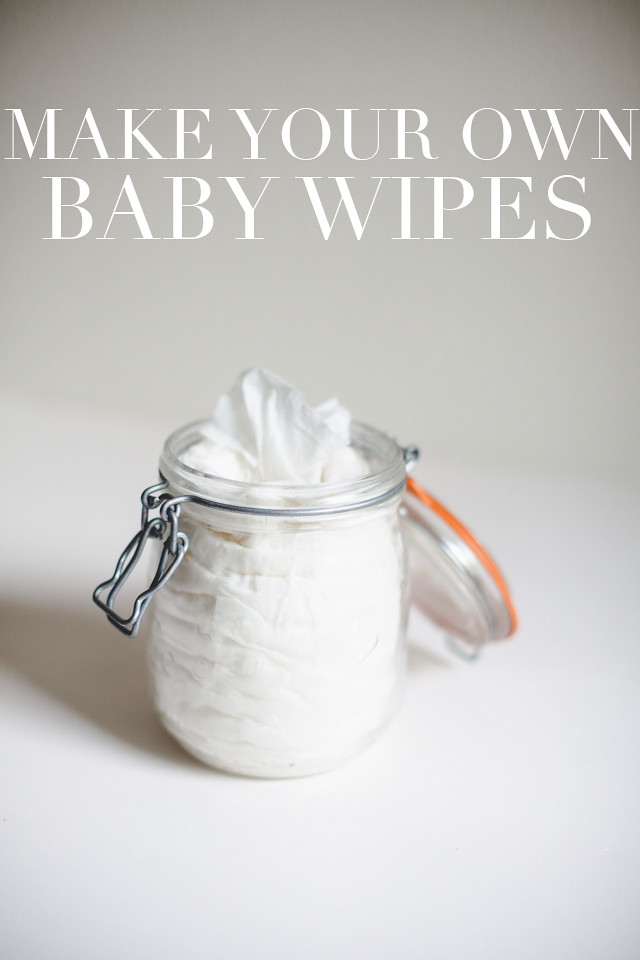
Make your own baby wipes! What?!

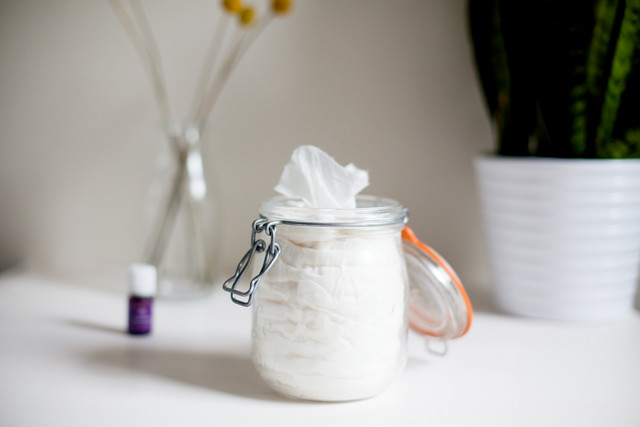
Make your own baby wipes (+ make-up removing wipes and cleaning wipes too)
Make your own wipes: Baby wipes, make-up removing wipes, and cleaning wipes

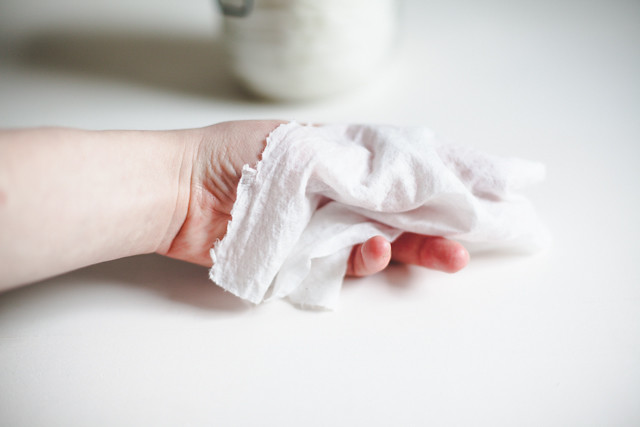
Ok, before you start judging and thinking I've gone major hippy on you... hear me out. I've seen dozens of diy baby wipes on the net (mostly pinterest) but when I looked at what they were made out of—paper towels—I always dismissed them, thinking how could a soggy paper towel possibly remain sturdy enough to clean Beck's tush, surely they would just crumble to pieces right??

Wrong. A couple friends had made some recently and I was blown away. When I ran out of store-bought wipes I ran to the store for a roll of paper towels to put it to the test myself. I had everything else already at home to make them and honestly, it was just super fun to do. And they are awesome! They work so well it kind of makes me mad I didn't try this a year ago. They clean super well and are moisturizing too, thanks to the coconut oil! They are also safe to use on hands and faces too, of course, since its made entirely from natural (like truly natural) ingredients.

And at less than $2 for a roll of paper towels (which makes two tubs), they are way more affordable than any "natural" wipes you can buy which is a major win.


Here's how you make them! I adapted the recipe slightly from here

1 roll of paper towels—I used viva and they are perfect!
1 3/4 cups distilled water, or boiled and cooled but still warm
1 Tablespoon coconut oil
1 Tablespoon witch hazel
1 Tablespoon castile soap (Dr. Bronners)
2 capsules of vitamin E
Lavender and Tea tree essential oil, 3 drops each
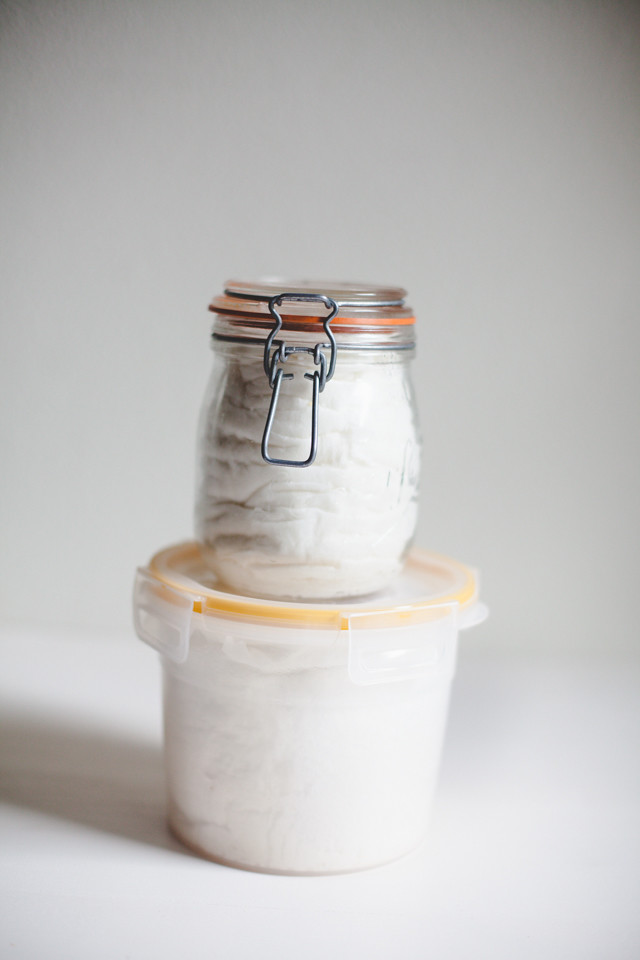
A container to store the wipes in!

Cut the roll of paper towels in half and place one half cut side down in the container.
In a bowl, mix together the water, coconut oil, witch hazel, castile soap, and vitamin e and stir until everything is blended together. Add essential oils then give another quick stir.
Pour the mixture of the paper towels in the container and let it sit for 5-10 minutes until its absorbed then put the lid on a flip the container over to make sure the wipes are well soaked.
Pull the cardboard center out of the wipes, which will pull the innermost wipe up to start your roll off.

Make your own wipes: Baby wipes, make-up removing wipes, and cleaning wipes


Saturday, May 31, 2014

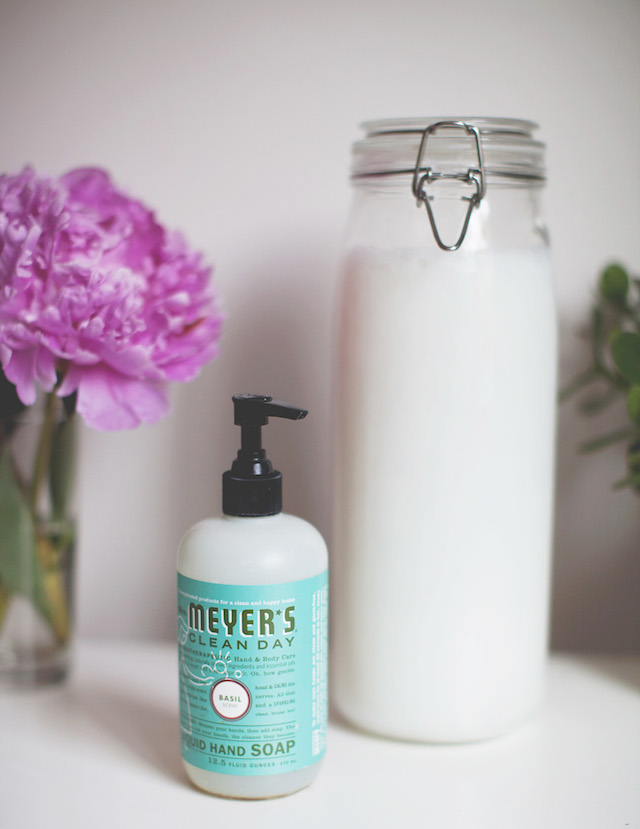
DIY Mrs. Meyers Liquid Hand Soap

DIY Mrs. Meyers Liquid Hand Soap

There's a DIY craze right now, I'm sure you're well aware of it (hello pinterest)! I'm a big fan but usually only if it means I'm saving money. I say all that because you might be thinking "Are you serious? Just buy the dang liquid soap!" I feel that way half the time I see DIY things but when you see how easy and cheap this is, you'll change your tune. This one got me!

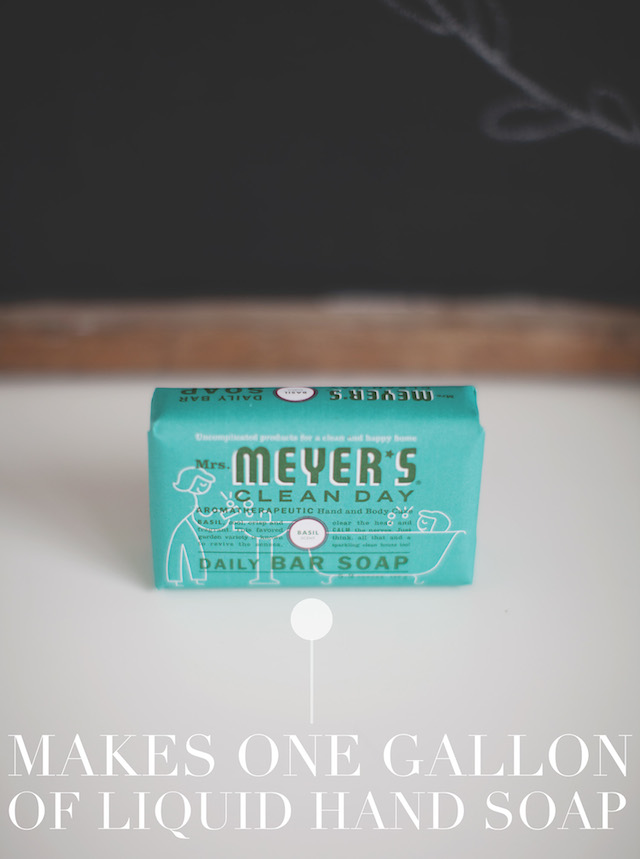
I love Mrs. Meyers soap, we've been using it forever and I'm obsessed with the basil scent. I was perusing every aisle at Target (as you do) and I found the bar soap and knew immediately I had to be one of those people and make my own liquid hand soap. It was actually really fun and took all of 10 minutes actual hands on time... can't beat that.

So lets break it down:
The liquid soap usually costs around $3.99 for a 12.5 oz bottle... So a gallon would cost approximately $40!

Since I already had the glycerin all I had to buy was the bar of soap which was $3.99. That's like 90% off, which makes the crazy frugal lady inside me very happy.

Like I said I got my soap from Target. If they don't have it, you can get it on amazon! It's a couple dollars more but still so cheap considering how much soap it makes.
To make the soap you'll need:

1 bar of soap
2 tablespoons glycerin

Heat up a gallon of water in a very large pot over medium-high heat
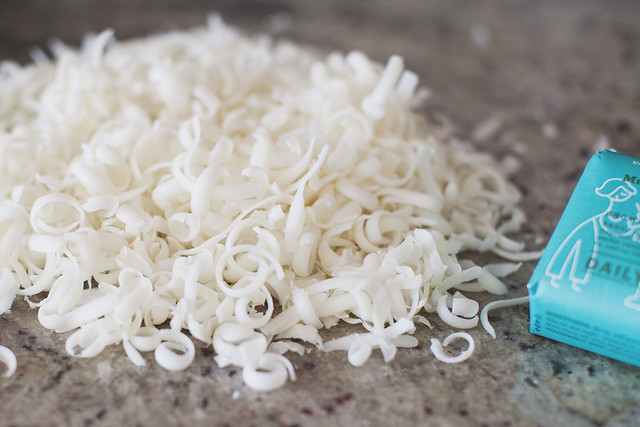
Grate your bar of soap with a cheese grater (This was my favorite part, its very satisfying)
Add the soap to the hot water. Stir occasionally. When the soap has melted completely, add the 2 tablespoons of glycerin and remove the pot from the heat
Let the mixture sit for about 12 hours or until the soap has "set"

Mine didn't take quite 12 hours. I took a whisk to it when I noticed it was cool and gelatinous.
The consistency was perfect, exactly like the kind you buy. However if your mixture is too thick you can add a little bit more water to get the consistency you need!

How easy is that? And now you don't have to buy soap for a year (or more?!)

DIY Mrs. Meyers Liquid Hand Soap

Monday, March 31, 2014

DIY Geometric Mobile

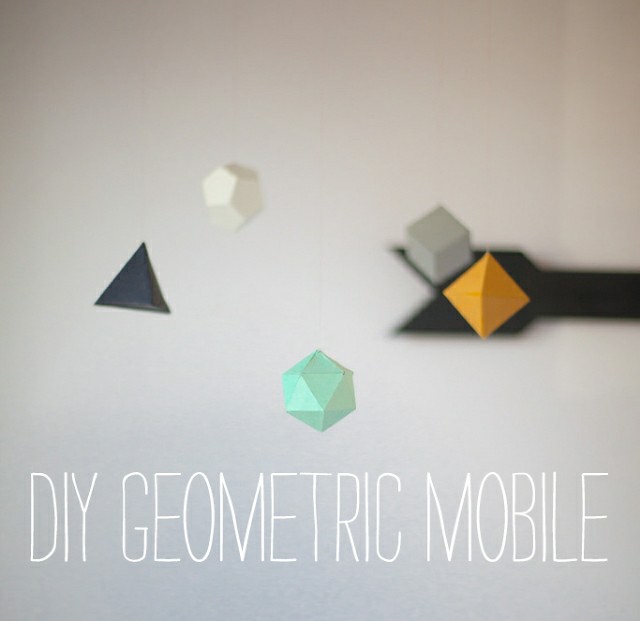
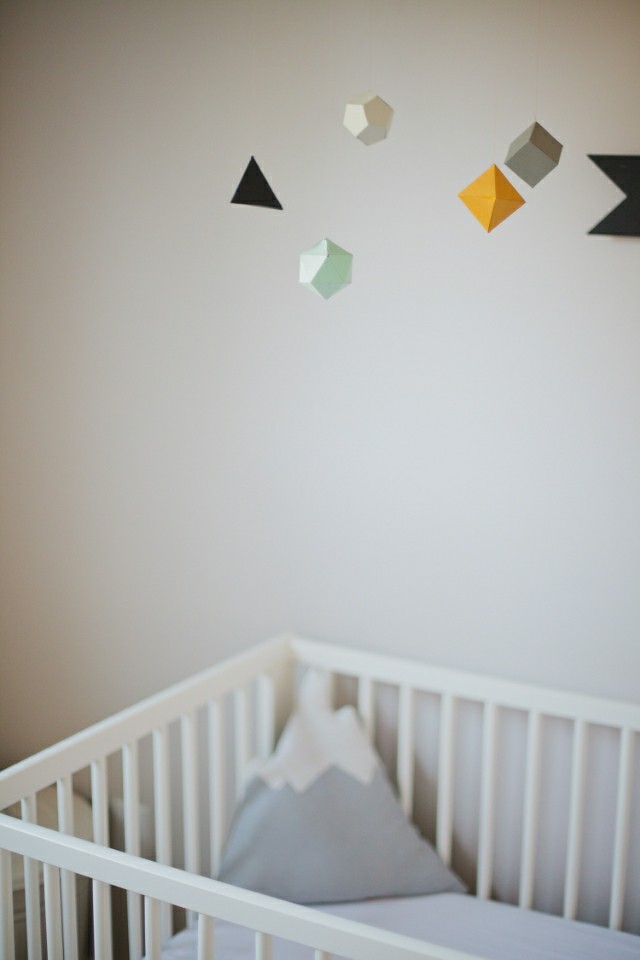
DIY Geometric mobile

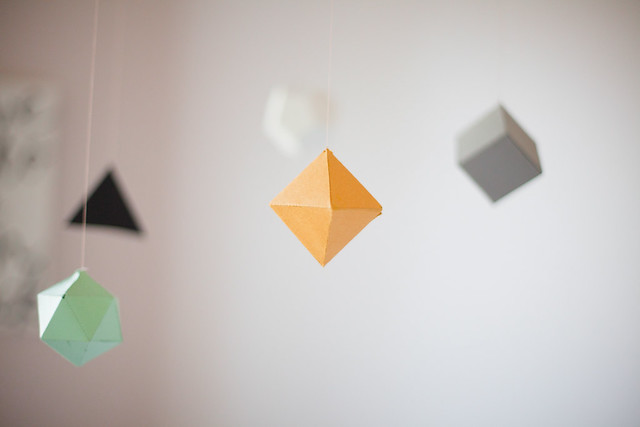
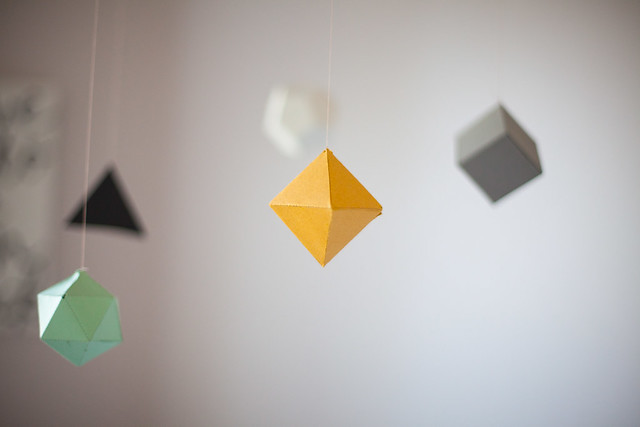
When I was dreaming about baby stuff and what would go in his room and all that fun stuff, I was eyeing some really fun geometric baby mobiles... but some of them were like $100. I was kinda disappointed but I knew I would end up DIY'ing a different type of mobile... maybe felt triangles or pom poms but then I came across this website that had templates for these paper geo shapes (I believe the correct term is Platonic Solids:)) and I saw all my baby mobile dreams coming true.

This isn't really a full blown tutorial because its just way too simple for that. But since approximately 1million of you asked how I did it I thought it did indeed deserve its own post. Here's how you can make one of these for yourself! Baby or not I think they are a fun way to decorate.

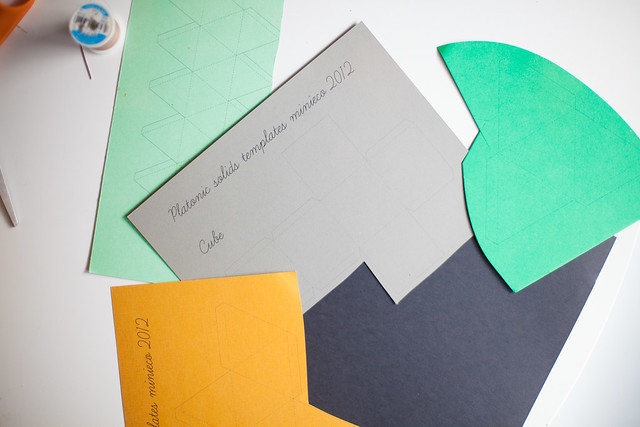
First you'll need to get card stock in the colors of your choice, just one sheet for each shape. Then go here and print the template on said card stock.

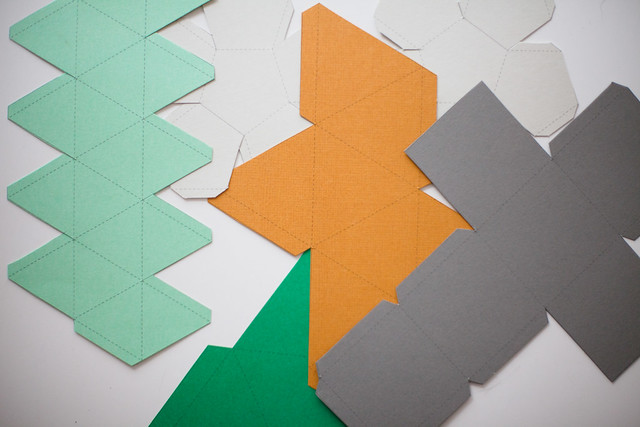
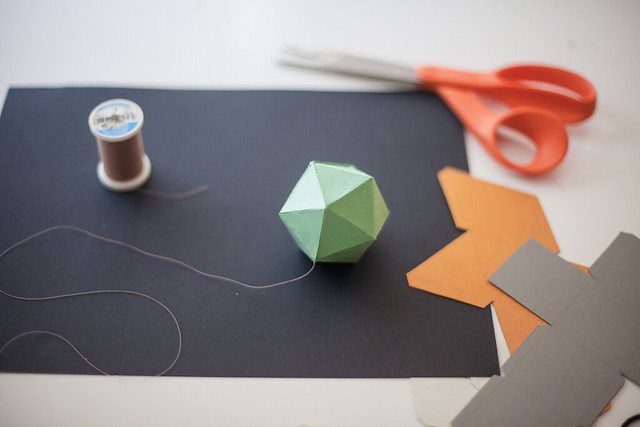
Follow the instructions in the link to assemble the shapes. You just cut them out, score the lines that you need to fold and glue it together. It can be a little time consuming on the shapes that have a lot of folds but for the most part its super quick and easy.

DIY Geometric Mobile

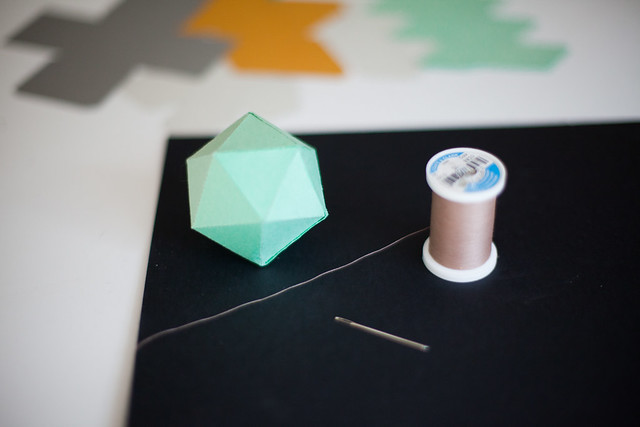
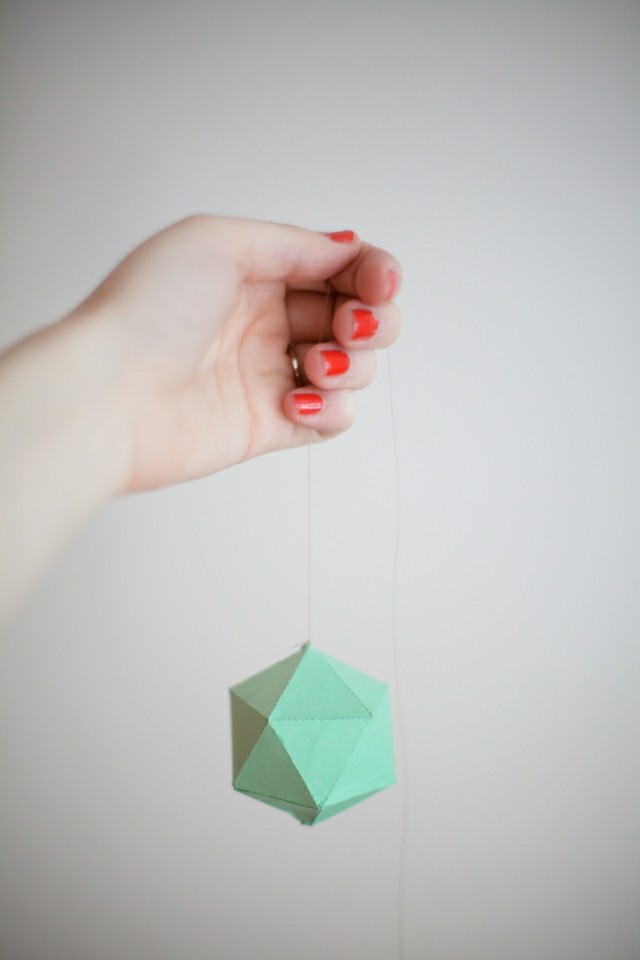
Make a stitch through the corner of your paper shape with a sharp sewing needle and light-colored thread, knot it and cut the thread to the length you need it to be. No need to stitch through multiple times since it is so lightweight.

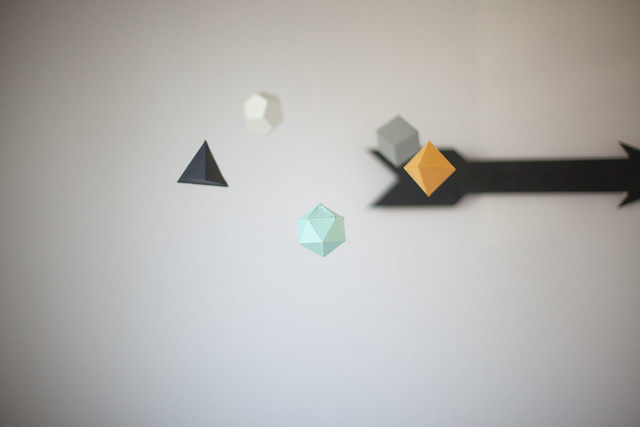
After a failed attempt to make a wire frame I ended up just hanging them from the ceiling and it does the job just fine!

DIY Geometric Mobile

If you have any questions about the mobile that I overlooked leave me a comment!

Monday, March 24, 2014

Beck's Nursery

Beck's Nursery
Beck's Nursery

Beck's Nursery
Beck's Nursery
Beck's Nursery
Beck's Nursery
Beck's Nursery
Beck's Nursery
Beck's Nursery
Beck's Nursery

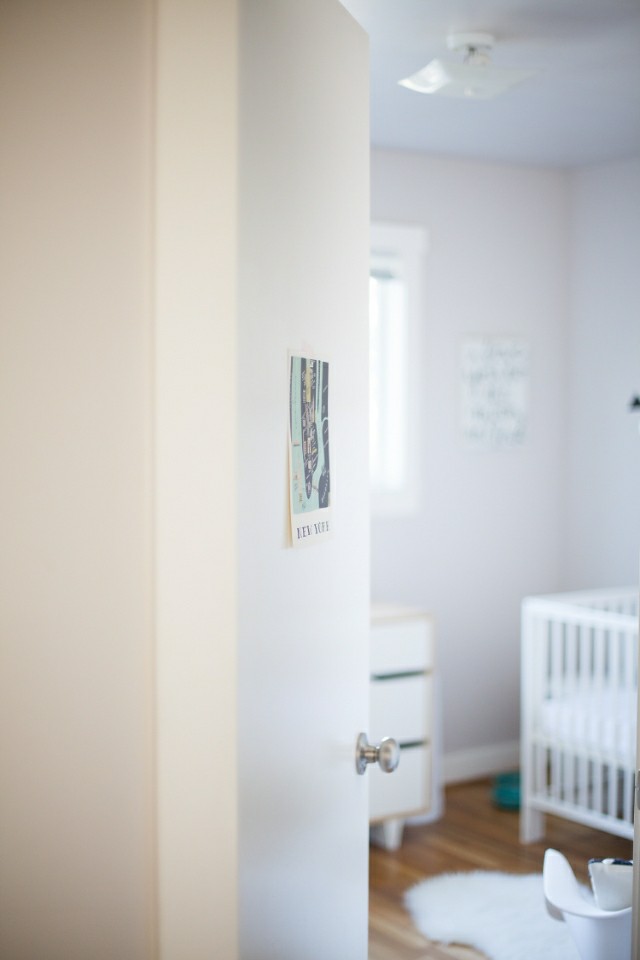
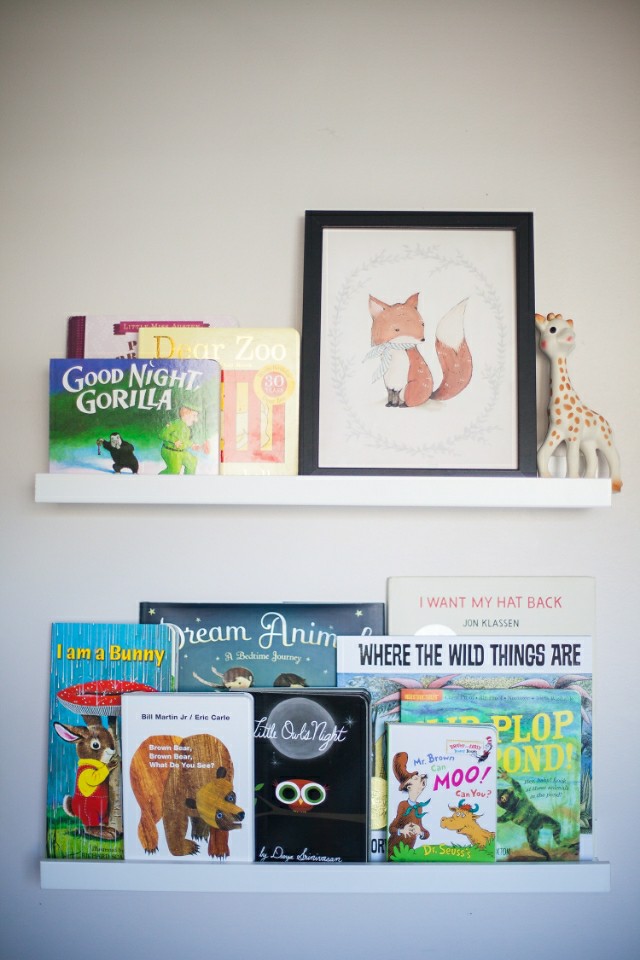
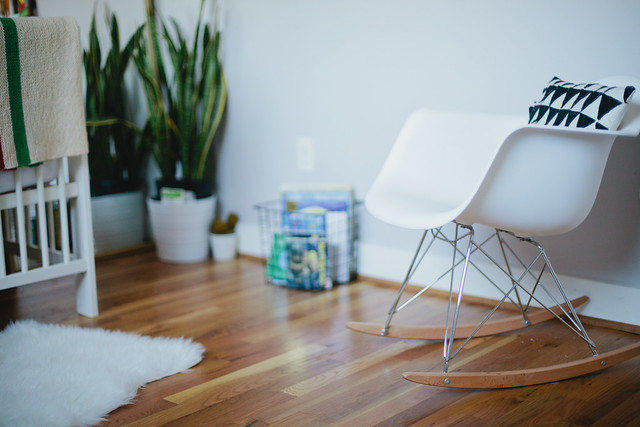
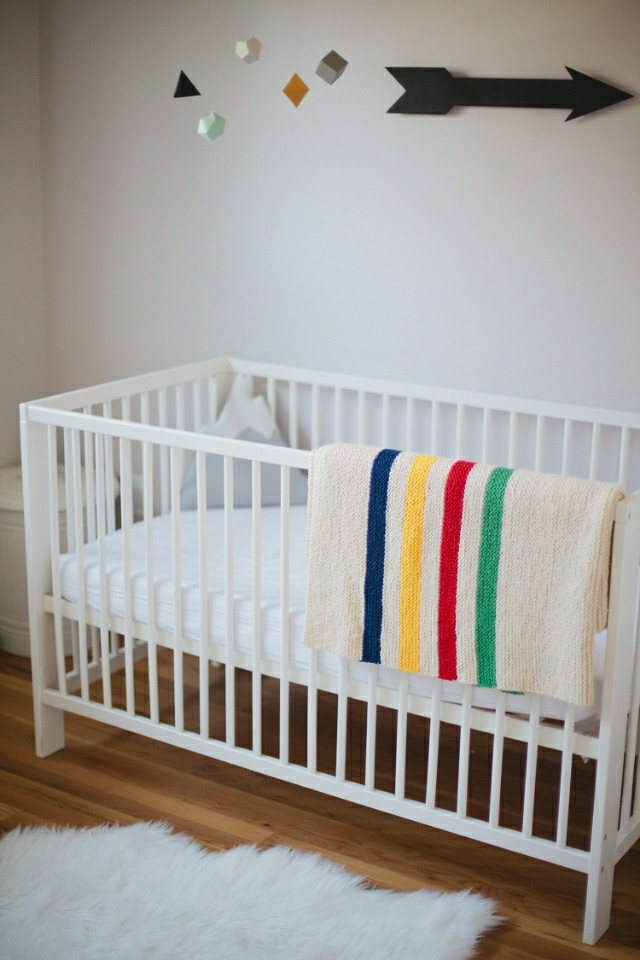
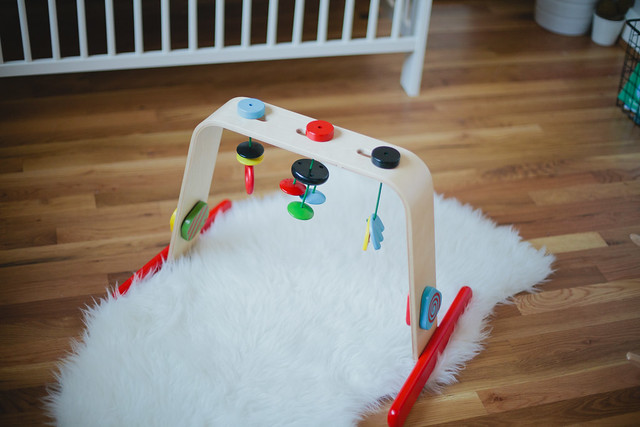
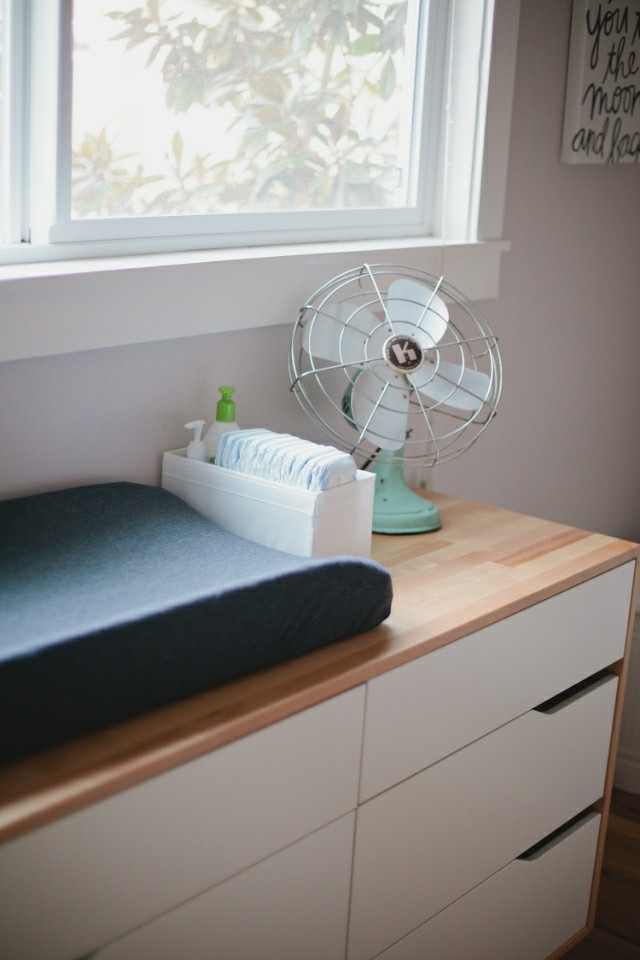
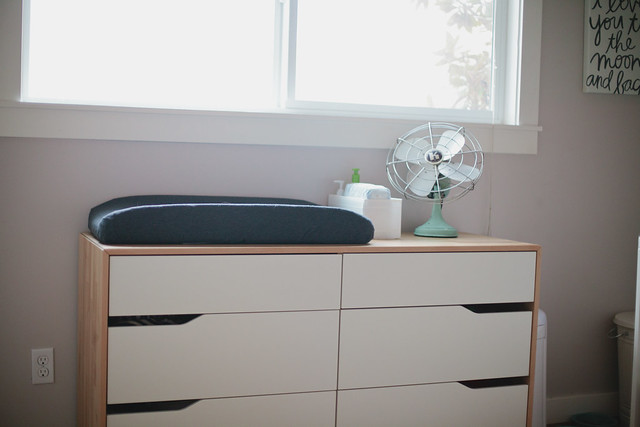
We opted out of the themed nursery which probably makes us the most unhip parents on internet right? This room is pretty tiny so I wanted to keep it simple and minimal. We picked a dresser that could double as a changing table but also be a piece we could use for years, I'm super happy with this one. Since we bought almost everything used (and made the other things) we spent next to nothing for his sweet little room (which is good because I would've spent way too much on it)
It's bright and airy and my favorite spot in the house.


Crib and Dresser: Ikea
Geometric Mobile: DIY (tutorial coming soon!)
Black Arrow: DIY
Fan: Vintage
"I love you to the moon and back" Canvas: Red Envelope
Knit Blanket: Handmade
Rocking Chair: Baxton Studios
Fox Print: Kelli Murray
Gray Changing Pad Cover: DIY

Monday, January 6, 2014

DIY Tassel Skirt

DIY Tassel Skirt
DIY Tassel Skirt
DIY Tassel Skirt

Here I am back on the blogging bandwagon, albeit a little slower with a baby in tow. I wanted to share this quick DIY tassel skirt that I'm a little obsessed with currently. I was inspired by this pillow sham from anthropologie and now I'm wanting to tassel everything in the house! It was fun and quick and if I can do it with a newborn so can you!

To see the full instructions head on over to Babble! 

Thursday, November 14, 2013

DIY leather chevron necklace


DIY leather chevron necklace

I'm sharing a tutorial for how to make this DIY leather chevron necklace on babble today! It's super simple to make and costs less than $5 (which is enough supplies for a few!) This would make a perfect christmas gift... by the way.
Check out the post here!


Other posts on babble this month:
10 fashion trends in the pacific northwest
21 winter must-haves from H&M
10 aprons that will keep your holiday outfits stylish


Monday, October 7, 2013

DIY printed triangle onsie

diy printed onsie

I'm over on Babble today sharing a super easy printed onsie tutorial. It was my first time doing potato printing and I'm amazed at what you can do with a potato and some paint! Check out the post here to see the supplies needed and the simple steps!

DIY printed onsie
DIY printed onsie

If you're interested you can see the rest of my posts on Babble right here!

Saturday, August 17, 2013

Make this! DIY tote bag

coverphoto
Tote bag tutorial
IMG_3248
IMG_3215

As promised I'm back with the tutorial for how to make one of these little carry-all tote bags! You just need a few things and you'll be on your way to whipping these guys out left and right. I use these all the time for a million different things so its definitely a worthwhile project, so don't let it sit in your pinterest board for years (I never do this... yeah right)

For the full tutorial and step-by-step instructions go here!

Also! A totally unpaid shout-out to my favorite fabric to use for these totes: Premier prints. You can get it pretty cheap from fabric.com and they make tons of prints. Stripes. Chevron. Polkadots. Elephants. And lots more.

And if you're not the sewing type or you'd rather just buy one, I sell them in my shop too! You can buy one here.


SITE DESIGN BY RYLEE BLAKE DESIGNS