Thursday, September 27, 2012

Fall/Winter Vanilla + Lace


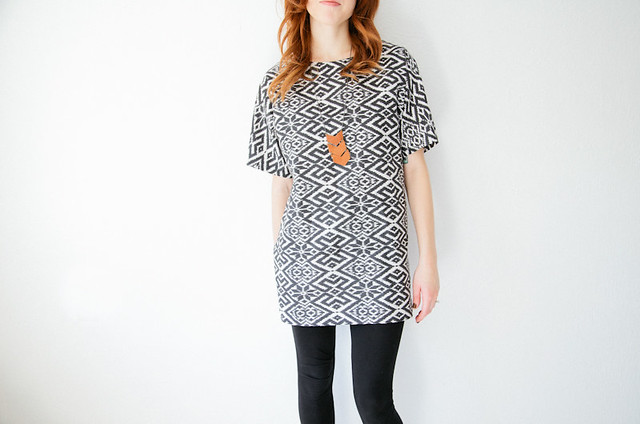
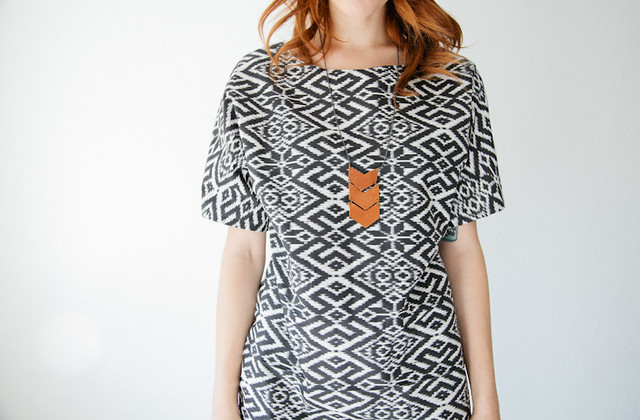
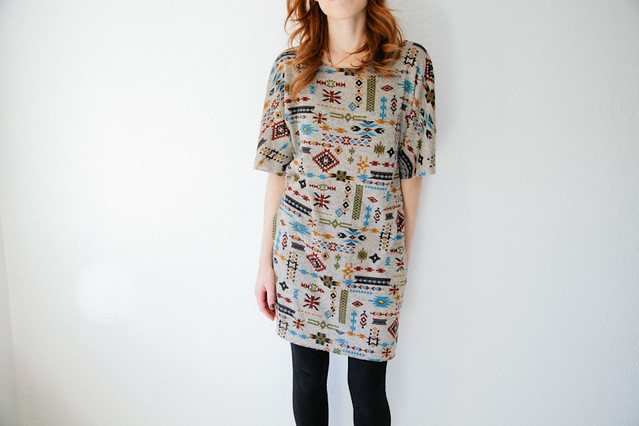
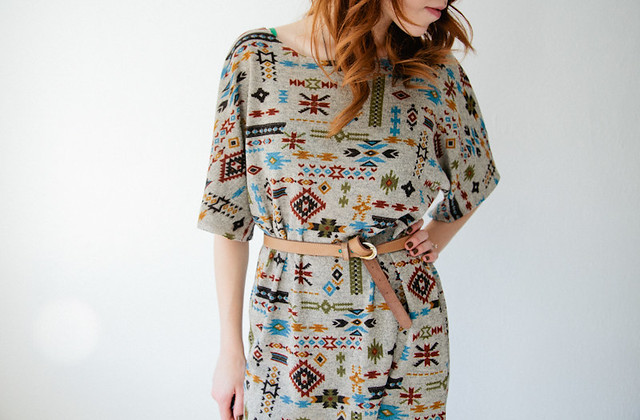
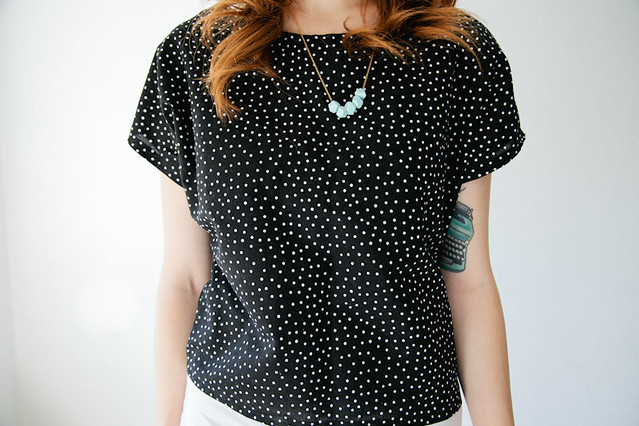
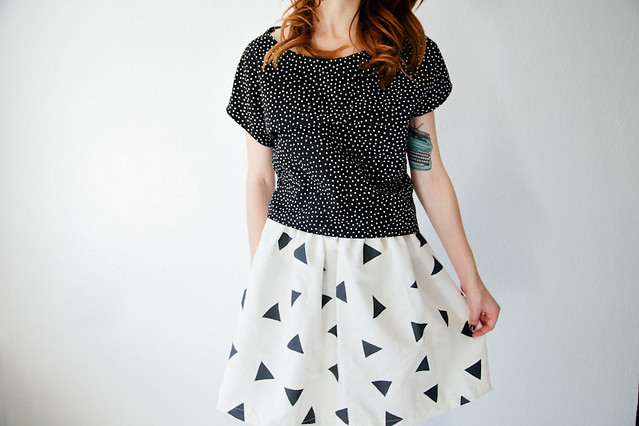
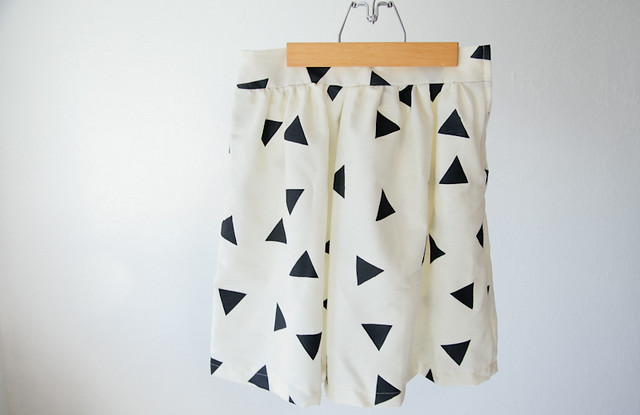
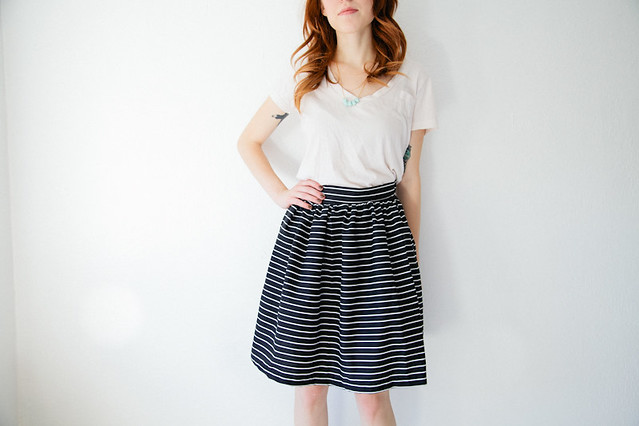
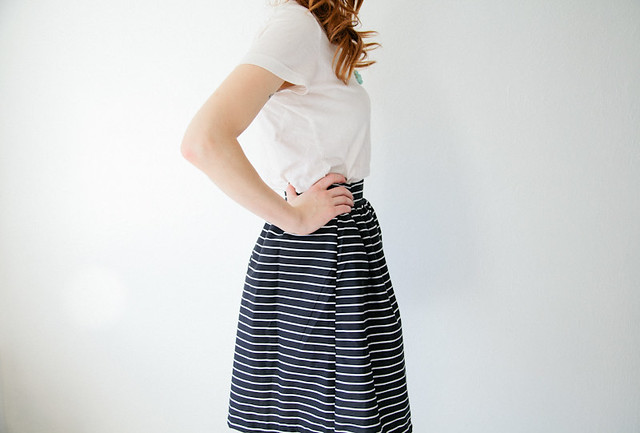
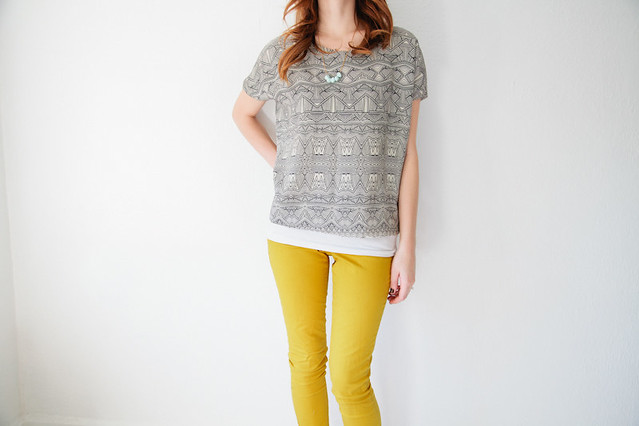
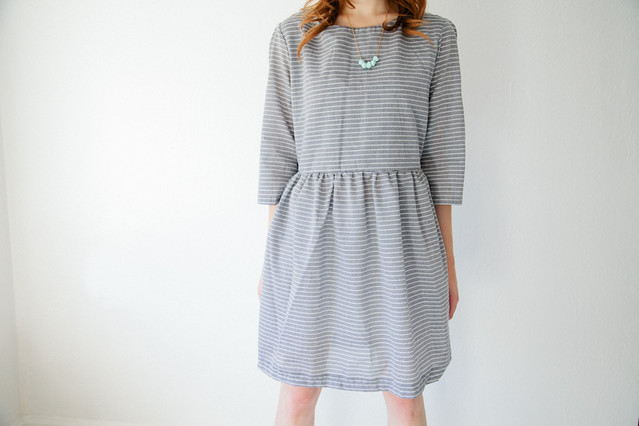
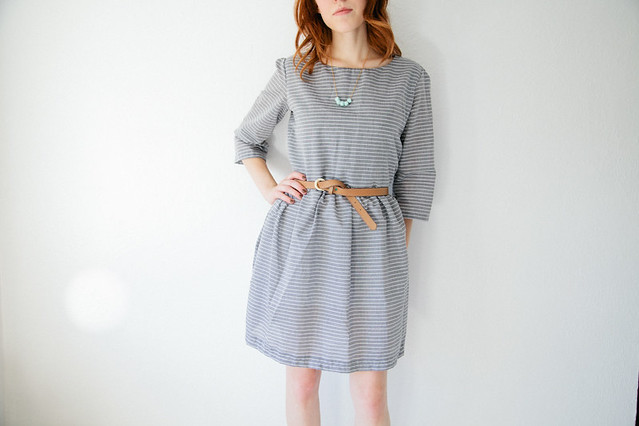
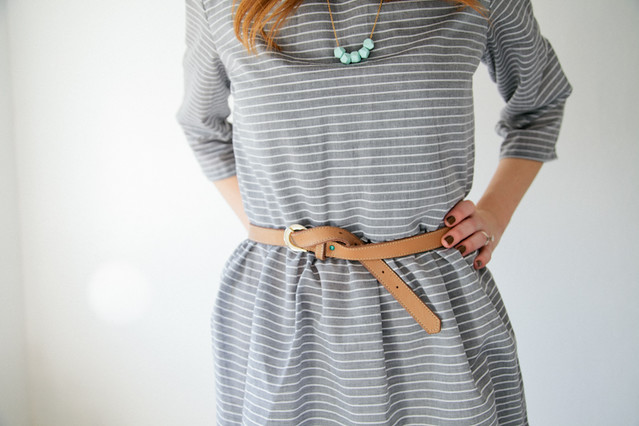
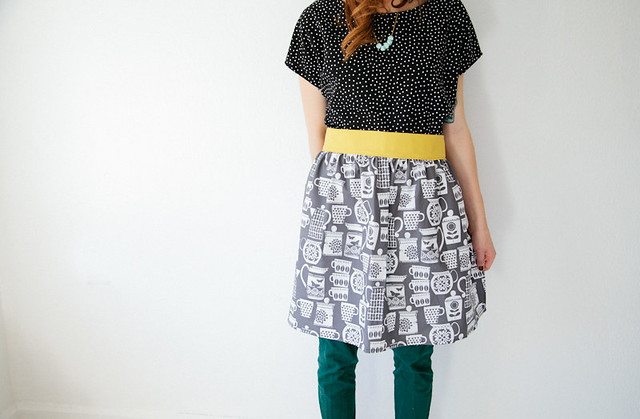
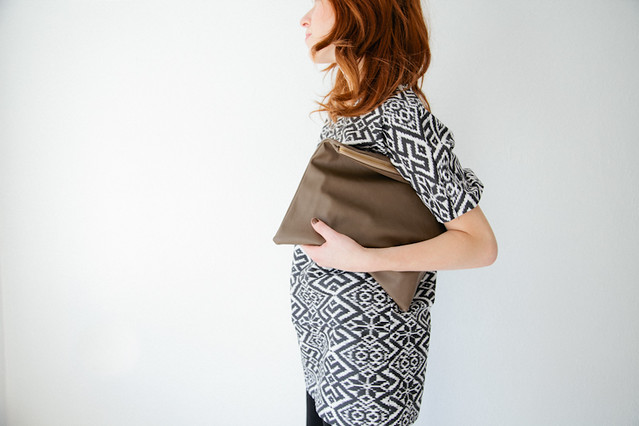
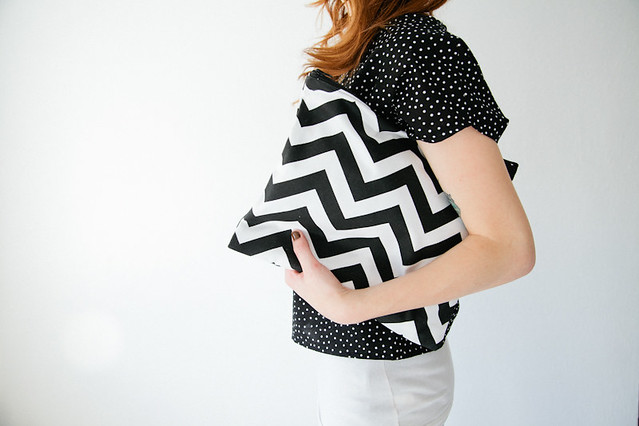
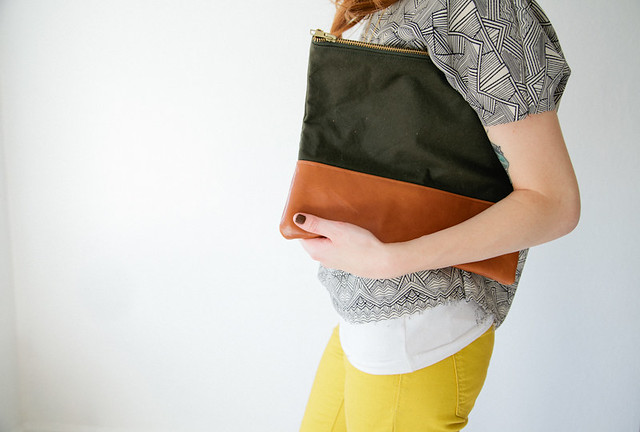
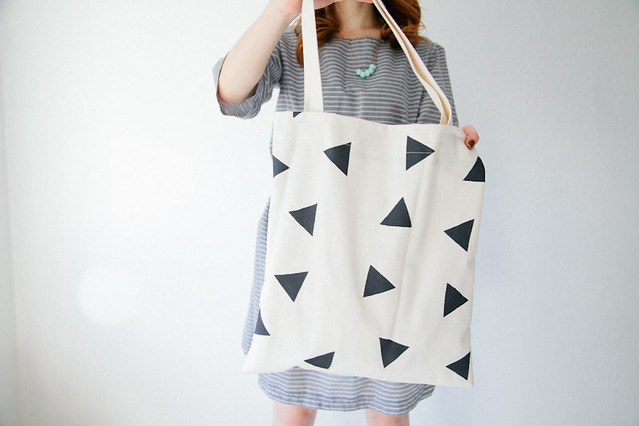
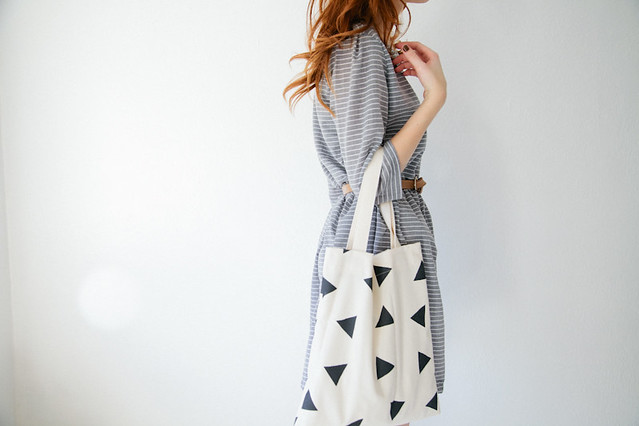
The fall/winter shop update is now up online and available to purchase. Most of these items have pretty limited quantities and once they are gone, they are gone forever. So grab them while you can!
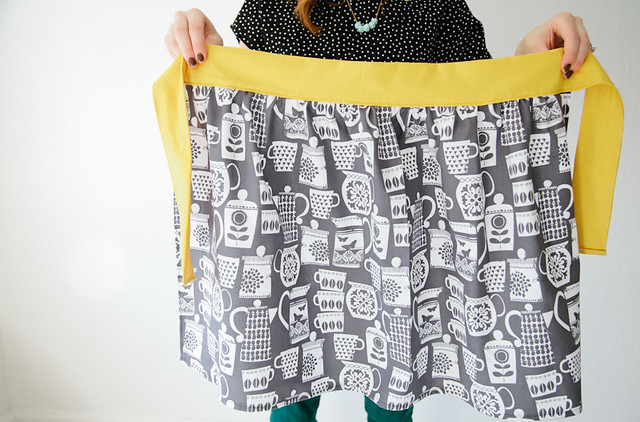
I also added an apron (available in 2 prints) for the holiday season! They are perfect gifts for kitchen loving friends... or yourself!

Dresses, blouses and skirts:
Fall/Winter Vanilla & Lace

Apron:
Fall/Winter Vanilla & Lace

Accessories: 
Fall/Winter Vanilla & Lace


Go take a peak and let me know what you think! 

P.S. I also added ONE sailboat print Float away dress. I found just enough to make one more in my fabric stash. (There is only enough for S or M) It'll be the very last one made so act fast if you want it :)


Tuesday, September 18, 2012

DIY geometric pillow

DIY geometric pillow


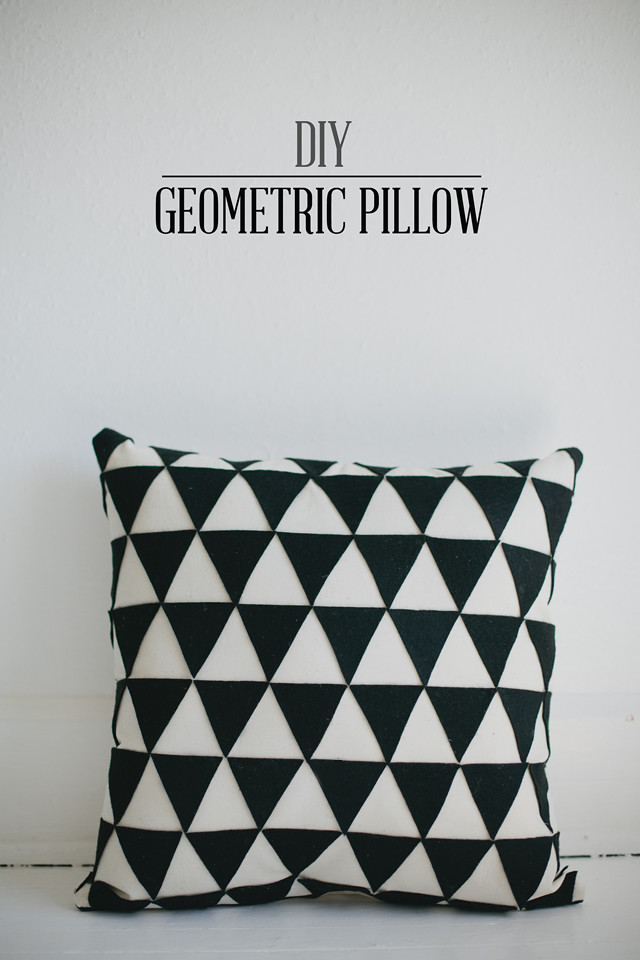
I've been obsessed with geometric prints for awhile now and finally decided to try my hand at DIYing a pillow like this that i've had my eye on. It was really easy and took me less than an hour. AND.. i happened to have everything i needed on hand so essentially it was free! Although it would still be SO cheap to buy all the items you need.

Note: This isn't a super in depth tutorial. I didn't take step by step pictures of how to sew the pillow or how to insert a zipper. I didn't think it was necessary since there are quite a few other tutorials for those parts of it (hint: look on pinterest!).

You'll need:
White canvas fabric (like this)
3 squares of black felt
20in black zipper
fabric glue
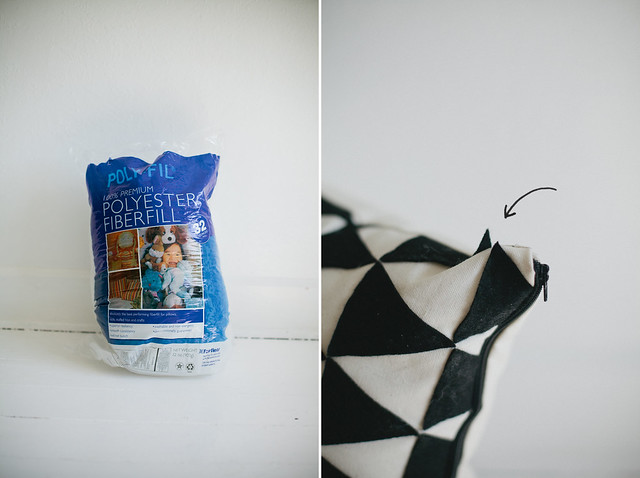
Polyfill or pillow form

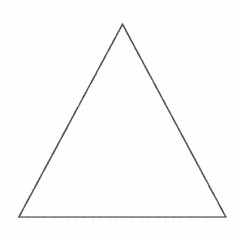
*I attached the triangle i used as my pattern at the bottom of the page. Save the picture and scale it to the size you want.

DIY geometric pillow
1. Trace your triangle to make your pattern triangle piece
2. Figure out what size you want your pillow to be and cut the canvas accordingly, i wanted mine to be a 17" square so I  added 1/2" to all sides for seam allowance and cut 2 pieces that were 17.5" on all sides
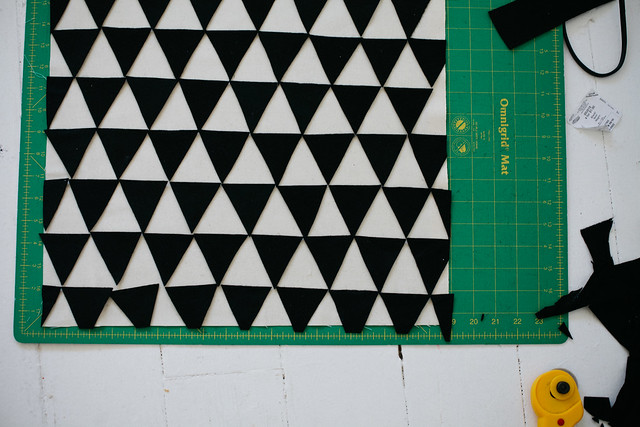
3. Cut all the felt triangles. I needed about 43, plus some halves for each side. (see above photo)
4. Position all the felt onto the canvas to make sure your design is good, then start glueing away.
5. Once the glue is dry, grab the other half of the pillow and sew the zipper on and sew all the sides together. (This is a great tutorial if you've never sewn a pillow before)
6. Stuff your pillow with the poly fill or a pillow form, making sure it gets into all the corners.
7. Once the pillow is stuffed, it'll be easy to spot any triangle points that may have been missed (see where arrow is pointing in photo below)

And you're done!

DIY geometric pillow

I'm really happy with how it turned out! And I hope you'll be inspired to make one too!

DIY geometric pillow
triangle

Sunday, September 16, 2012

the milkiest chocolate ice cream

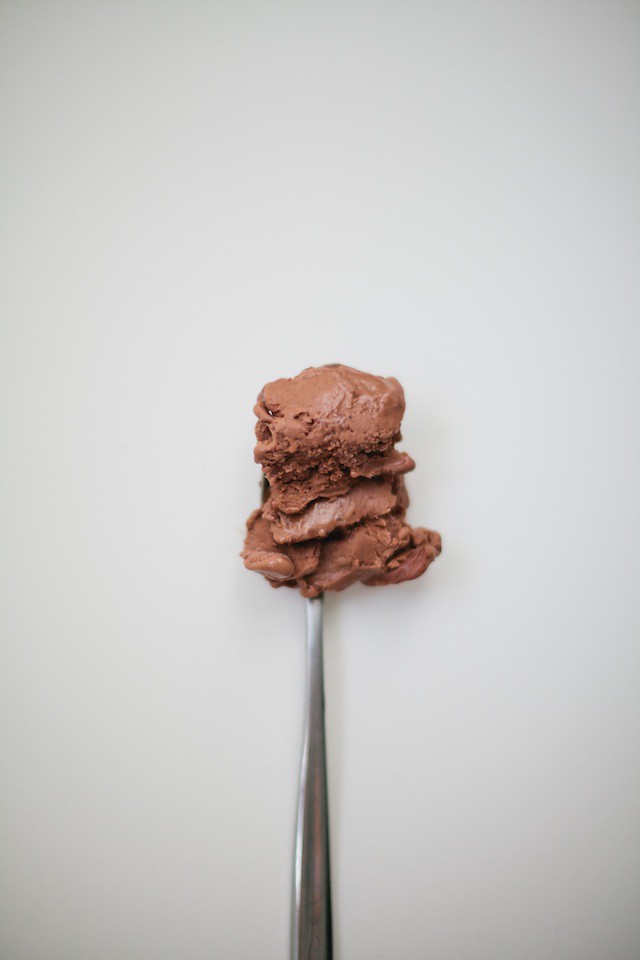
The milkiest chocolate ice cream

The milkiest chocolate ice cream


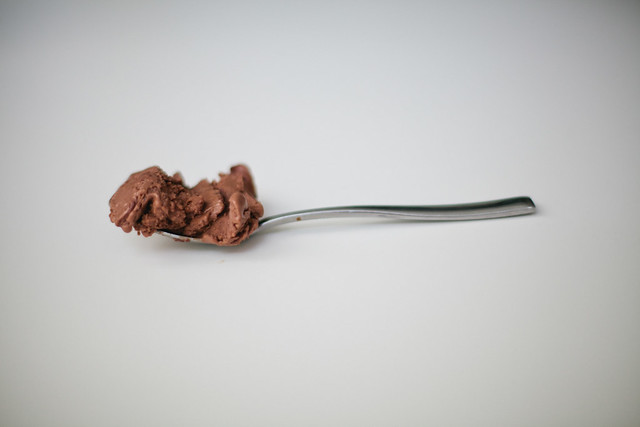
I don't know what I was thinking but I hardly used my ice cream maker this summer.. I blame getting a vitamix, there were so many other delicious frozen things to be had in that. But now that summer is nearly over (is it all the way?), i've had my ice cream maker working over time. I feel like I can't stop until i've made all the recipes in Jeni's splendid ice cream at home book. It's the easiest ice cream recipes i've made (no eggs!) and also the most delicious. We had some friends over to share this and added a spoonful of homemade peanut butter too. Everyone said it beat Tillamook far and away.. which is saying a lot. Jeni gets all the credit though!

The milkiest chocolate ice cream


  • 1 cup whole milk
  • 1 tablespoon plus 1 teaspoon cornstarch
  • 2 ounces bitterswet chocolate (55% to 70% cocoa)
  • 11/4 cups heavy cream
  • 1 cup evaporated milk
  • 2/3 cup sugar
  • 2 tablespoons light corn syrup
  • 1/3 cup unsweetened cocoa powder
  • 1/4 teaspoon fine sea salt

  • 1. Combine 2 tablespoons of the milk with the cornstarch in a small bowl to make a smooth slurry.
  • 2. Chop the chocolate and place it in a medium bowl.
  • 3. Fill a large bowl with ice and water.
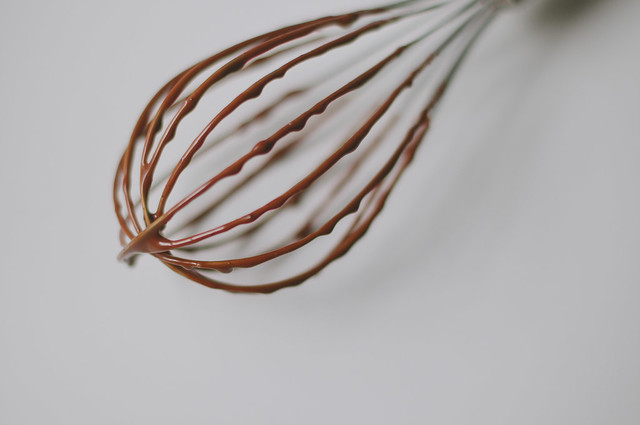
  • 4. Combine the remaining milk, the cream, evaporated milk, sugar, and corn syrup in a 4-quart saucepan, and bring to a rolling boil over medium-high heat. Add the cocoa, whisking until it is incorporated, and continue to boil for 4 minutes.
  • 5. Remove the pan from the heat and gradually whisk in the cornstarch slurry. Bring the mixture back to a boil over medium-high heat and cook, stirring with a heatproof spatula, until slightly thickened, about 1 minute. Remove from the heat.
  • 6. Gradually whisk the hot milk mixture into the chocolate. Add the salt and whisk until the chocolate is melted.
  • 7. Pour the mixture into a 1-gallon resealable plastic freezer bag and submerge the sealed bag in the ice bath. Let stand, adding more ice as necessary, until the mixture is chilled through, about 30 minutes.
  • 8. Pour the ice cream base into the ice cream maker and process until thick and creamy per the machine’s instructions.
  • 9. Pack the ice cream into a resealable container, press a sheet of parchment directly against the surface of the ice cream, and seal with an airtight lid. Stash it in the coldest part of your freezer until firm, at least 4 hours

  • Saturday, September 15, 2012

    sauvie island + relaxing

    sauvie island
    sauvie island
    sauvie island
    sauvie island
    sauvie island


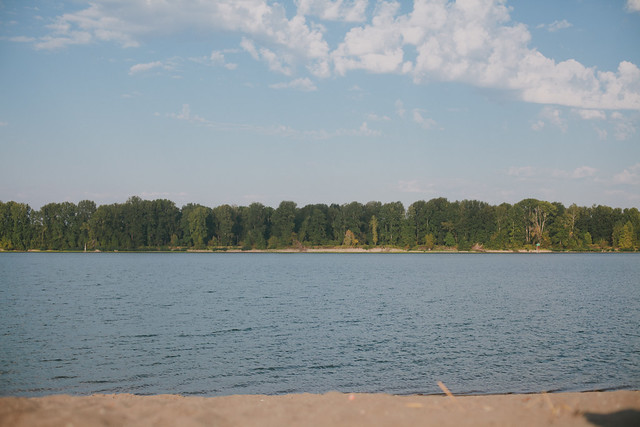
    Yesterday we went to Sauvie island as a final farewell to summer. The whole island (full of farms) is so serene and quiet.. it feels like a small town (well, it is a small town..) i just love it. 
    It was warm outside but the water was too cold to swim this time.. at least to us (There were quite a few people swimming, more brave than us i suppose!)

    We napped and read and picnicked and enjoyed the peaceful view.  It's such a beautiful summer time place.. but luckily, sauvie is just as nice when its cold and foggy. We'll be back soon..

    p.s. if you're in the portland area and you've never been, you need to! It's 30 minutes from the city and just as good as the oregon coast. Just be careful how far down the beach you travel, there's a nude beach a couple miles down from where we were ;)

    Monday, September 3, 2012

    temporarily closing..

    closed

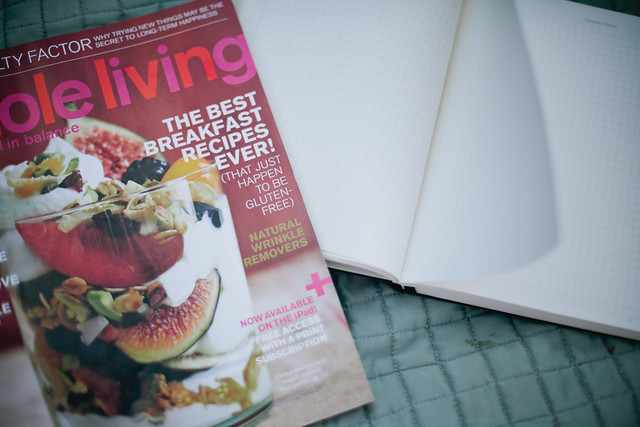
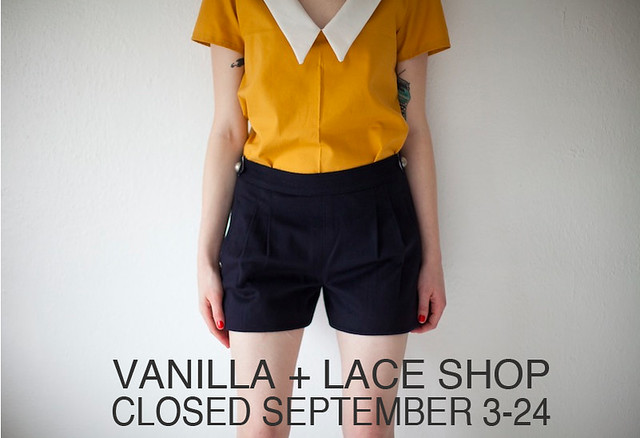
    I'm closing up the shop today for a few weeks to work on new dress designs, bags (leather, perhaps..) and other things. I decided its just too hard to keep up with orders AND work on the new stuff, so I have to momentarily close up shop! I'll be reopening September 25 with some new stuff and all the old too. I'm pretty excited about the ideas that are swirling around in my brain and in my notebook..

    I'll be sharing peeks of the new stuff as they come like always!

    and since i'm here, can i just say thanks to everyone who buys from my shop (and reads the blog!).. your support continues to bless me all the time! thank you, thank you, thank you!

    foot note: if you put in an order in the last few days, this doesn't effect when you'll get your order. I'll be working on those during this time...

    Sunday, September 2, 2012

    lincoln city

    lincoln city
    lincoln city
    lincoln city
    lincoln city
    lincoln city
    lincoln city
    lincoln city
    lincoln city
    lincoln city

    I can't  believe September is already here.. I really do say the same thing at the beginning of every month but REALLY... this year has gone by bizarrely fast.

    Last week (when it was still august), we took a little day trip to the beach.. and it was BEAUTIFUL there. I used to always complain about the oregon coast and how ugly it was but it's really only because all i ever want to do is play in the water and it's far too cold to do that here.
    It really is such a pretty and relaxing place to be. My grandma took my siblings, cousins and I to this specific beach every summer, so it was fun to come back for the first time in probably 15 years. Felt a little nostalgic.

    We're hoping to go back in a couple weeks and camp on the beach.. that is, if the fall rain will hold off that long.


    SITE DESIGN BY RYLEE BLAKE DESIGNS